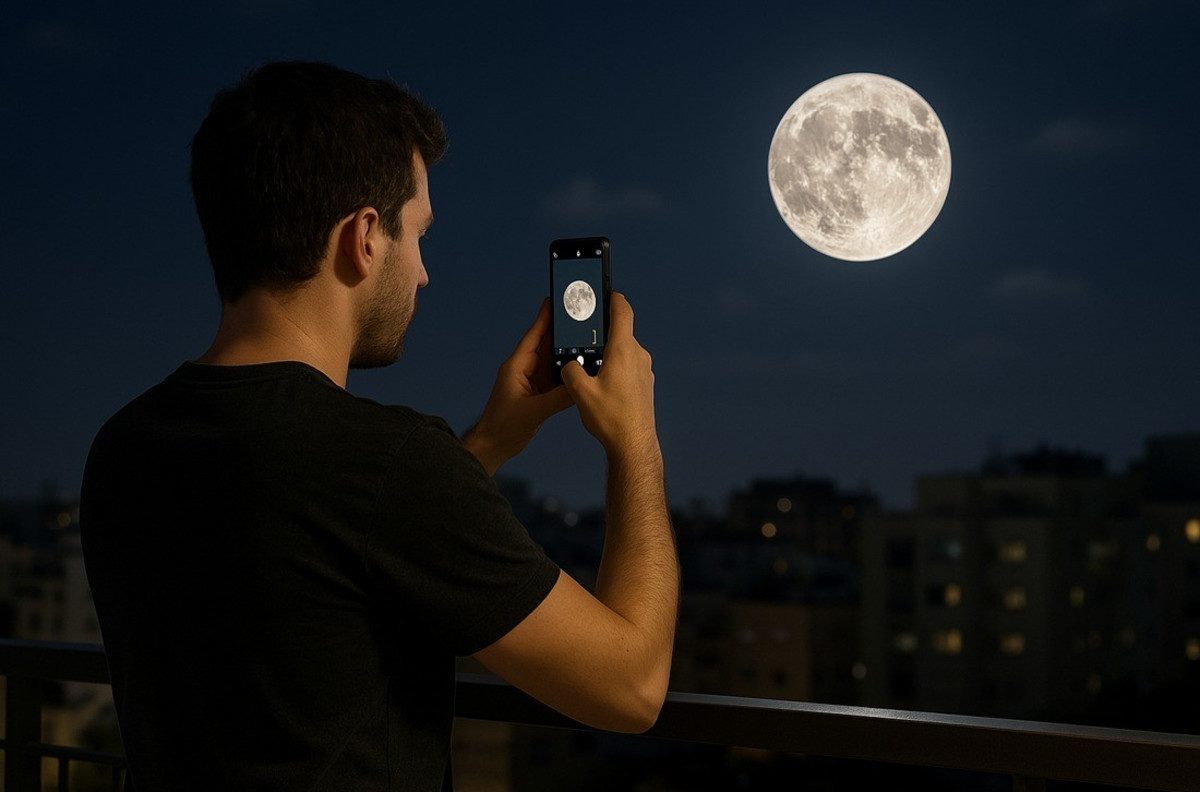
The moon, the same magical sky, always inspired photography. But most of the times when we try to take the star with the cellphone, the result is a blurry yellow circle. So how do you catch it so that it really looks like a moon? Just before, if you didn’t know, the moon always shows the same side to Earth – the reason is an accurate synchronization between the moon’s time around itself and its coffee time around the earth. This is also why the other side of the moon, known as the “dark side”, remains mysterious for centuries.
Without the moon – life on Earth would look completely different: the moon stabilizes the round of the earth. Without this stability, the seasons would have changed extremely, days were only a few hours or dozens of hours, and the climate was unstable, which would make it difficult to develop complex life. And now for itself.
This is how you photograph it: First, use the iPhone optical zoom as much as possible to maintain image quality. If necessary, digital zoom can be used, but remember that the quality will diminish. Then, tap on the iPhone on the moon to focus it. This is a critical step to achieving a sharp image. Now, drag the cursor of exposure below (the sun icon) to darken the image.
This is the most important step: the exposure tun allows you to reveal the moon details and avoid over -expiry that will make it a bright yellow circle. Use a small tripod to avoid blurring in the picture, or place the iPhone on a stable surface. Pictured at the right time, when the moon is high in the sky and no clouds. Another tip: You can take the moon in 4K video, and then take a “screenshot” from the video. This can provide a particularly sharp static image. After photography, edit the image in the “Pictures” app on the iPhone, and fit the clarity, contrast and sharpness to emphasize the moon details. Remember, the moon photo requires patience and experiments. Do not despair if the first images are not perfect, continue to try and see amazing results.
And what about Android users? They also have impressive moon photography tools. First and foremost, use the device’s advanced camera app, such as “Pro Mode” or “Expert Mode” that allows manual control of the parameters. Move to manual (Manual) and choose a relatively slow shutter speed – for example 1/125 or 1/250 second. We mean the ISO value to a low value, like 100 or 200, to prevent noise in the image.
Use manual focus and focus the image just on the moon. If the camera supports optical zoom, use it to a quality limit. As with the iPhone, it is also advisable to place the smartphone on a tripod or a stable surface. If you have a device with a phone camera, as in Galaxy S24 ultra, you can achieve spectacular moon results, including craters.
If you want to be even more precise, you can use dedicated sky photography apps like SkyView, Photopills or Stellarium. These apps allow you to know when the moon is in the best location for photography, and include a live display of its track. Finally, it is important to know: after photography processing is also equally important. To improve the result you can use apps like Lightroom or Snapseed to edit delicate details, empower the black depth around the moon and clarify details.
